- Macromedia Flash - Sunflower presentation (button effects)
Saturday, 18 August 2007
Flash can be, among other things, be used for very effective creation of interesting effects, that can be modified in web design. Button effects are among top ones. In this lesson, we will go across few basic ones. They can be used later, as the basic for more complicated animations...
This, very detailed lesson, has many useful "by-the-way" tips, that will give better understanding of todays topic, and is concerning many nice techniques in each step. I also included whole screenshots in this lesson, as to help you not to get lost.
Final result will be mixed presentation of many things you can do with knowledge of todays lesson!
Here's the result:
1. Let me start with saying, that for creating nice buttons you will need some basic knowledge of graphic design... But, as this is only the beginning, let's see what we can do on our own.. First, there is drawing of buttons.
On of easiest ways, and at the same time mostly used ones is separating parts of the picture from it's background on which the button will lay. You can do this part with programs like Photoshop, Gimp, Freehand... just to name a few... You can't do this with success in the Flash itself!
So, for the start, you will need finished graphics!
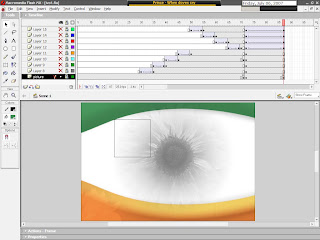
2. As said, start by separating part of the picture from it's background, and with play a little with the part you cut (separated) from background... (some tips: try changing colors, sharpness...)
All this will change the look of your button-to-be, make it stand out, and that is the first step in creating a button!
(Buttons on this picture are made from two copies of one graphics. To the one on the bottom, i removed all colorit, and the ratio of black and white color is changed! Buttons are cut from original part of picture with color kept, and size changes!)
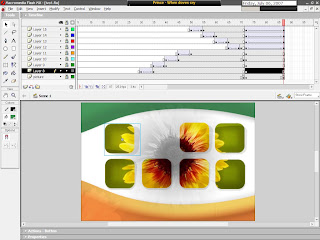
3. Now, with the graphics in place, we can deal with basics of button interaction in presentation. Small animation of "entering" of buttons can visually enrich the presentation, and it is easy for making. In this case, button is entering from top left corner. Animation is 5 frames long, so it is smooth...
Just for the aesthetics, you can also add the effects that concern colour. In this case, button is on it's first frame completely white, and, while it is set to place, it gradually get's it's own colour. Animation is also 5 frames long. In this step, graphics are converted into movie clip!
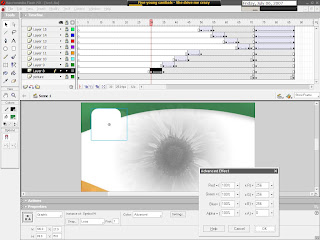
4. Button has 4 main states: Up, Over, Down, and Hit! Each responds to the relation of mous and button (the name of the state speaks for itself). It is needed to have graphics for each and every one of four stated states (it is recommanded to have small changing of place [few pixels] for each one, just to have better feeling of control to the button user).
You can also create animation, but if you want to create something functional, it is not recommanded to create buttons that fly around and can't be clicked on!
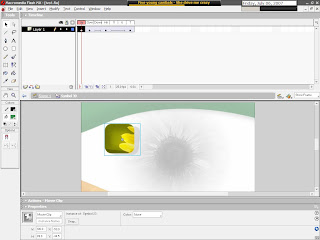
5. While we are "in" the button, or in "edit" state, graphic can further be converted and animated, so that button get's effects of animation even though there is no interacion to it! The animation mostly used is about colour and effects concerning colour. In this example, button stands still for 48 frames, and then, in next 18 frames, amount of it's colour is increased, so you get effect of periodical shining of button - independently of users interaction with it!
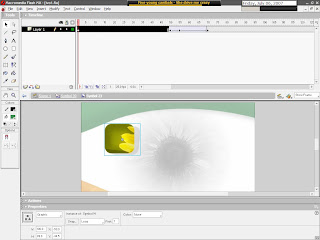
6. One more basic effect frequently used, easy to apply, (and in combination with others gives interesting look to buttons), is Alha feature of converted graphics. Invisible button!
We will add Alpha feature to converted graphics, in Properties, and apply value 0 to it!
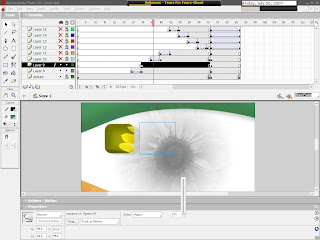
7. In edit space, in states Over, Down and Hit, we will import graphics withouth Alpha feature. We will, for now, leave "Up" empty. This will give the apperance of "invisible" button, that visually won't be in presentation, but will be usable for the ones that know it's location! Something like 'secret button'...
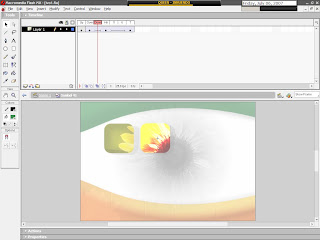
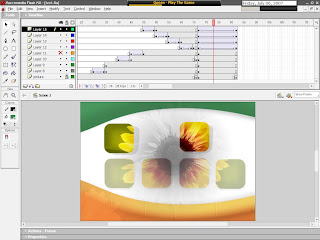
8. In this example, we will deal with basic controls of presentation, or clip, with buttons. With the help of one visible button, we will start animation that will show 4 buttons not to be seen in the start.
We will create one simple button with four basic states (right button on the picture). In the bottom rowe, we will put four graphics with feature Alpha set to 0.
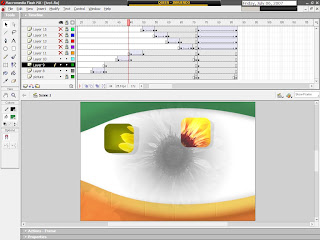
9. You need to stop the clip before it ends. On 71st frame, in background layer, Keyframe is set, and in it, with the help of action script, Stop command (from the Movie Control group of command) is set.
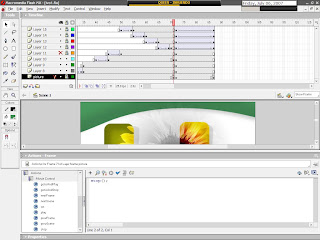
10. On the same 71st frame, but in the layer of control button, command " on(release){play();} " is set, again, with the help of action script.
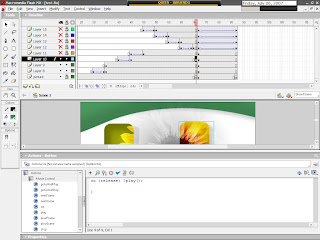
11. Lower row of the button is animated in that way as to gradually become visible in 14 frames, again, by using Alpha feature. On the first frame, it's value is 0, on the last one it is 100. This animation won't start by itself, because of stop command. It will only be started by clicking on the button with command " on(release){play();} ", so you will get effect of graduall appearing of the remaining buttons. This can be usefull in creating Vista-like menus, and similar effects...
With this step I conclude todays lesson...
Again, you can veiw today's lesson's work on the page: http://www.addlimb.org/kovac/cvet.html
Hope you had a good time, and looking forward to feedback!
0 comments:
Post a Comment